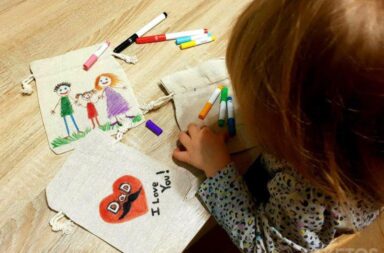
So you really want your gift to be wrapped beautifully but struggle to tie a nice ribbon bow?
Perhaps you are looking for ways to decorate a vase or candle holder and a bow is the perfect finishing touch? Regardless of what item you need to tie a bow for, we have put together a handy guide, showing you how to create the perfect bow, great timing just in time for Christmas!
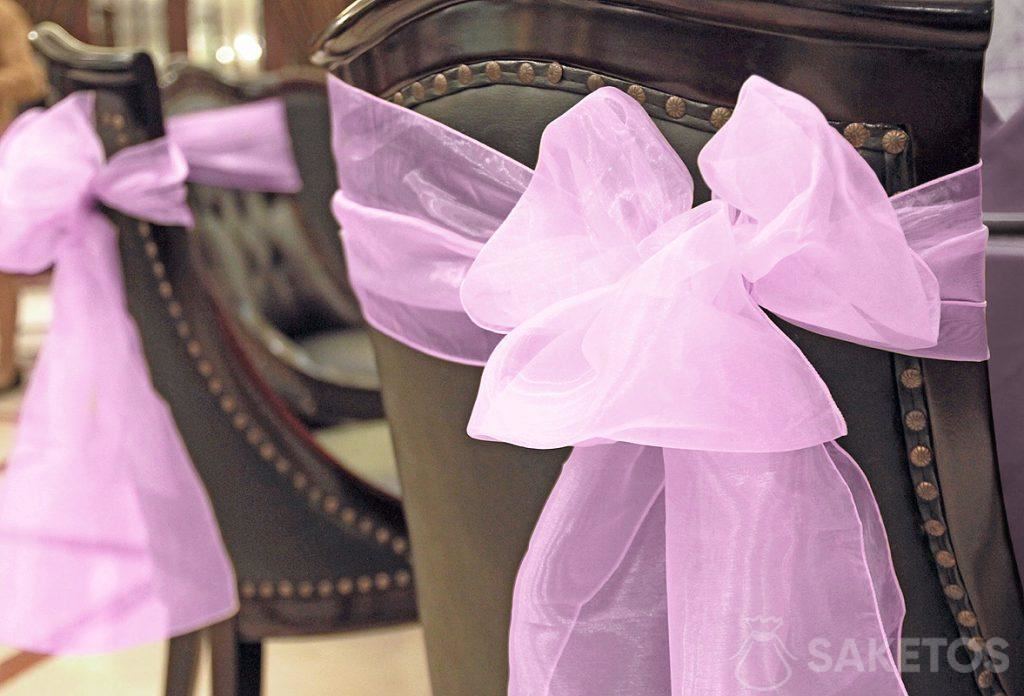
Decorative organza bow tied on the back of a chair
Tie a ribbon bow step-by-step
What will you need in order to create the perfect bow using ribbon?
If you want to create a truly stunning bow, first you must gather all the materials and accessories you might need to create one. You will need the following:
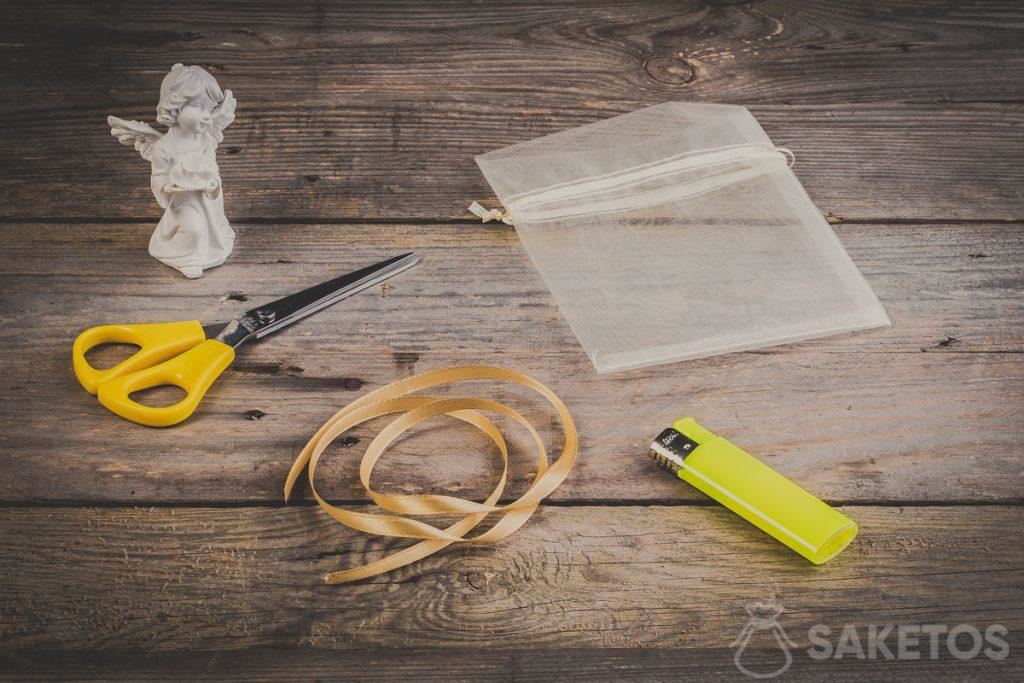
Step 1 – First, prepare the accessories you will need
- ribbon, string or other decorative fabric you would like to create your bow with
- scissors to cut the ribbon
- the item you wish to decorate with a bow, for example a fabric gift bag, a bottle of wine, a bouquet of flowers or a larger item such as a chair
- matcher or a lighter to singe the ends of the ribbon to prevent it from fraying
Instructions on how to tie the perfect bow
In order to tie a simple, classic bow first you must prepare the item you wish to decorate and any other accessories you might want to include. Your chosen ribbon or fabric for the bow should be carefully cut with scissors, make sure you have some left over in case you need to create the bow again. Careful not to cut the ribbon too short or it won’t be possible to create an eye-catching bow. If the ends of the ribbon are too long once you have finished tying the bow, these can simply be cut to the desired length.

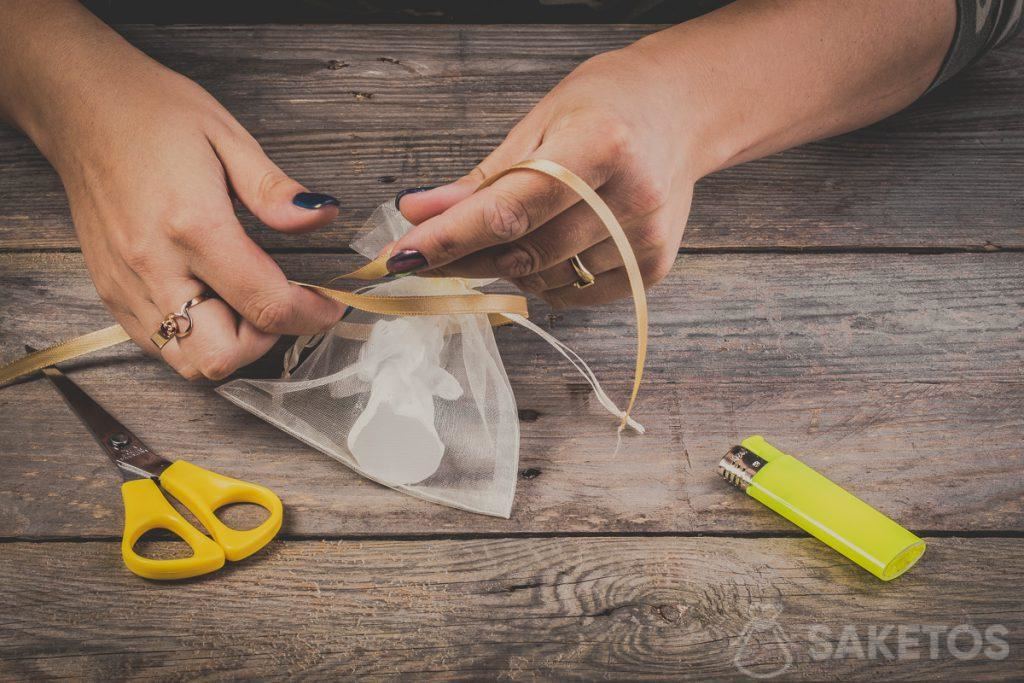
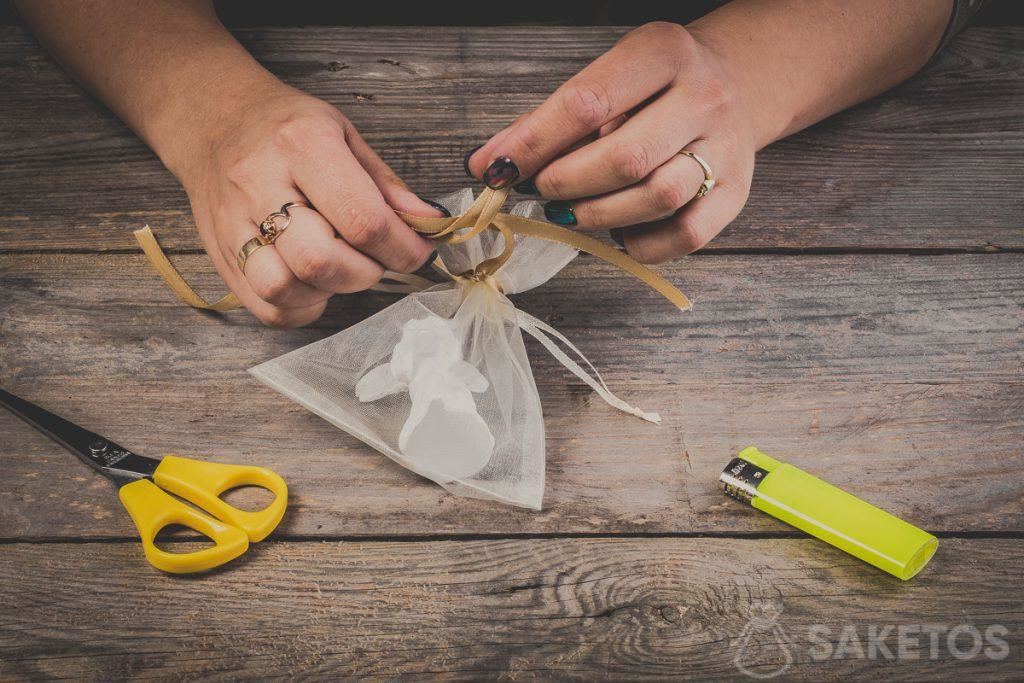
How to make a bow using a ribbon on an organza bag – step 2
A step-by-step guide to tying bows
To successfully create a simple bow you will need one long piece of ribbon. Start by folding the ribbon in to four which wil give you two loops.
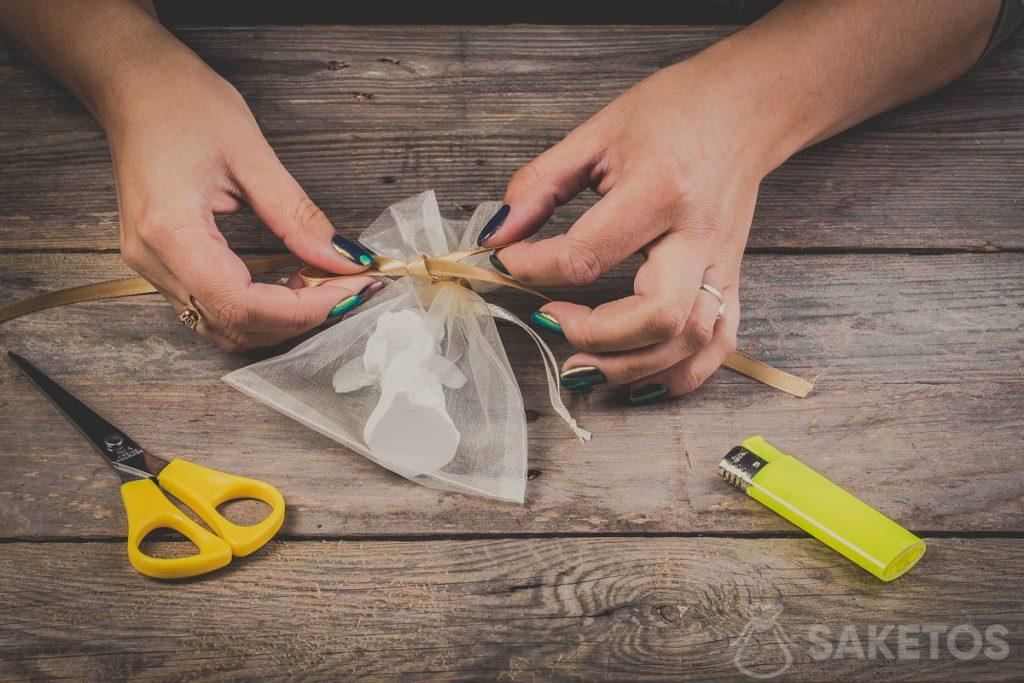
How to tie a bow using a ribbon – step 3

Tying a bow using a ribbon – step 4
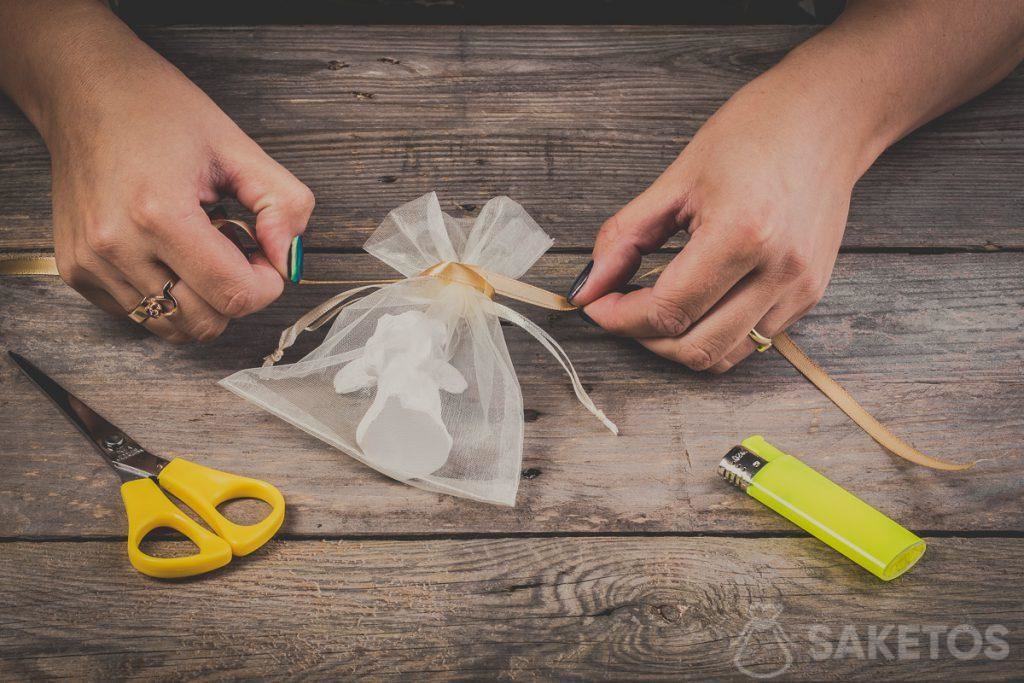
Tying a bow using a ribbon – step 5
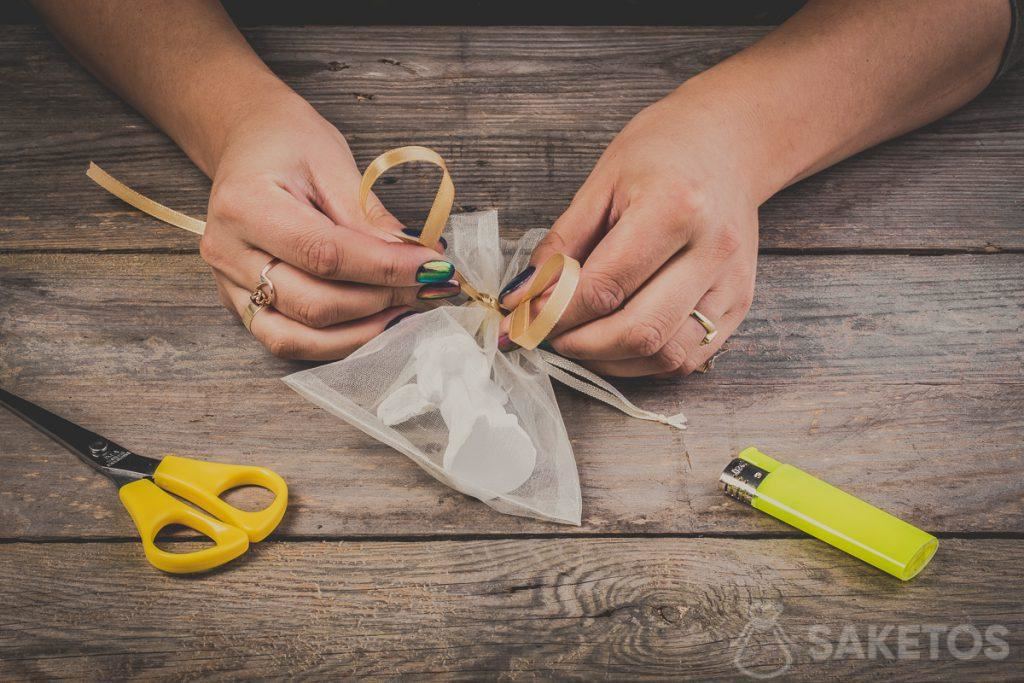
Forming loops when tying a bow using a ribbon – step 6
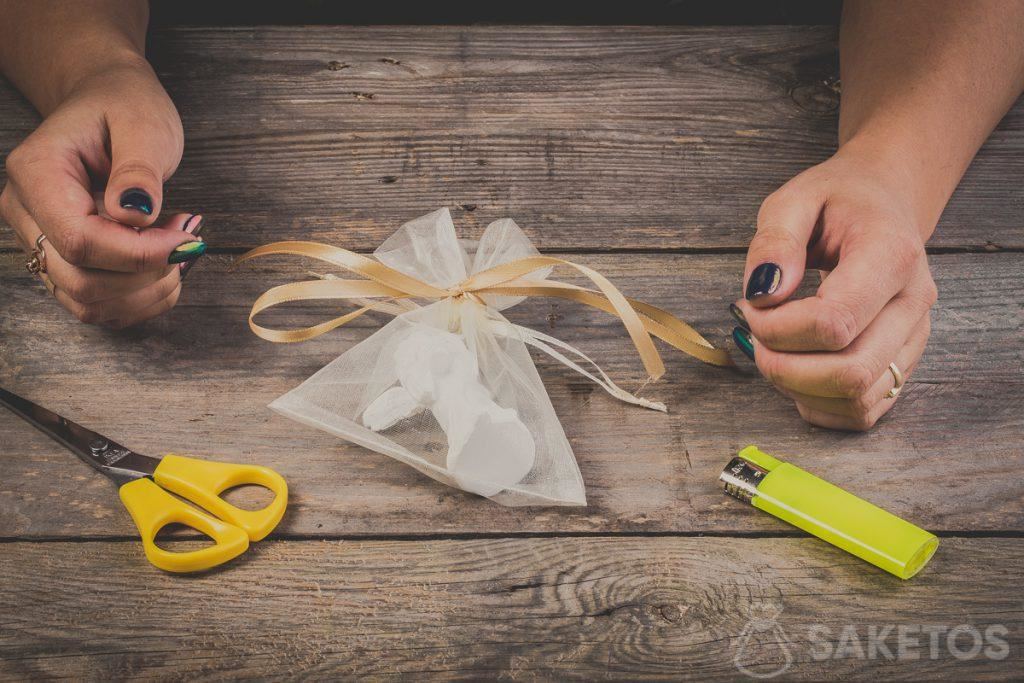
Cross ribbon loops using a ribbon – step 7
The ribbon loops should be crossed in half making sure you keep hold of it at all times. You should now have a hole in the lower part of the ribbon to thread one of the two loops through. Slowly and carefully pull both of the loops by gently pulling them upwards which should form a perfect bow. Make sure the bow is symemetrical and finish by cutting the ends of the ribbon diagonally.
Translating loops when tying a bow using a ribbon – step 8
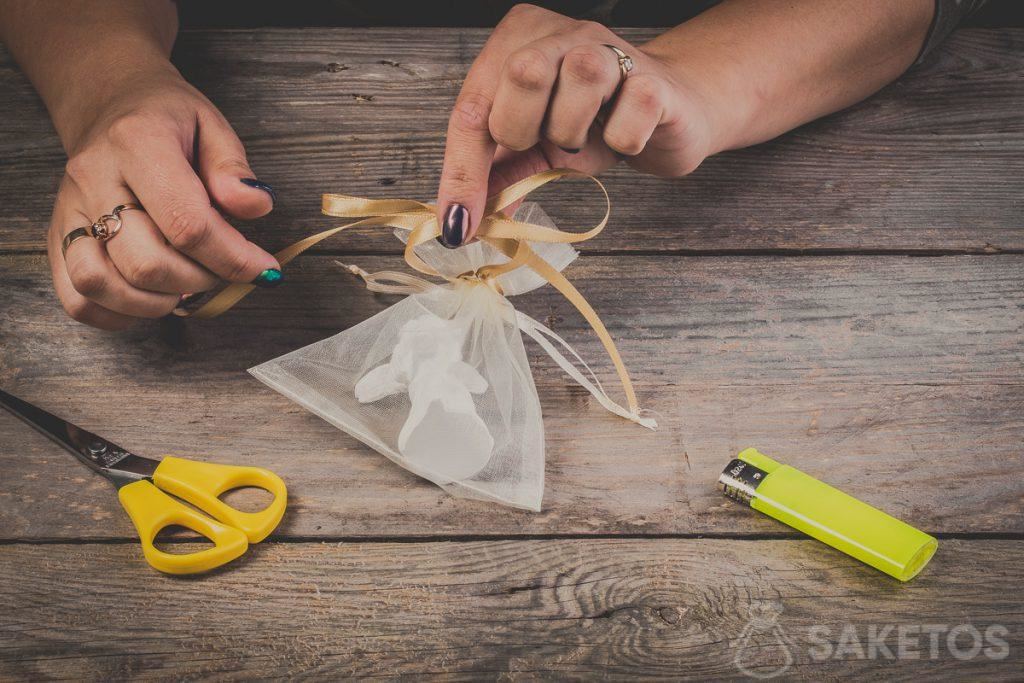
Tying a bow using a ribbon – step 9
Ribbon bow tied on an organza bag – step 10
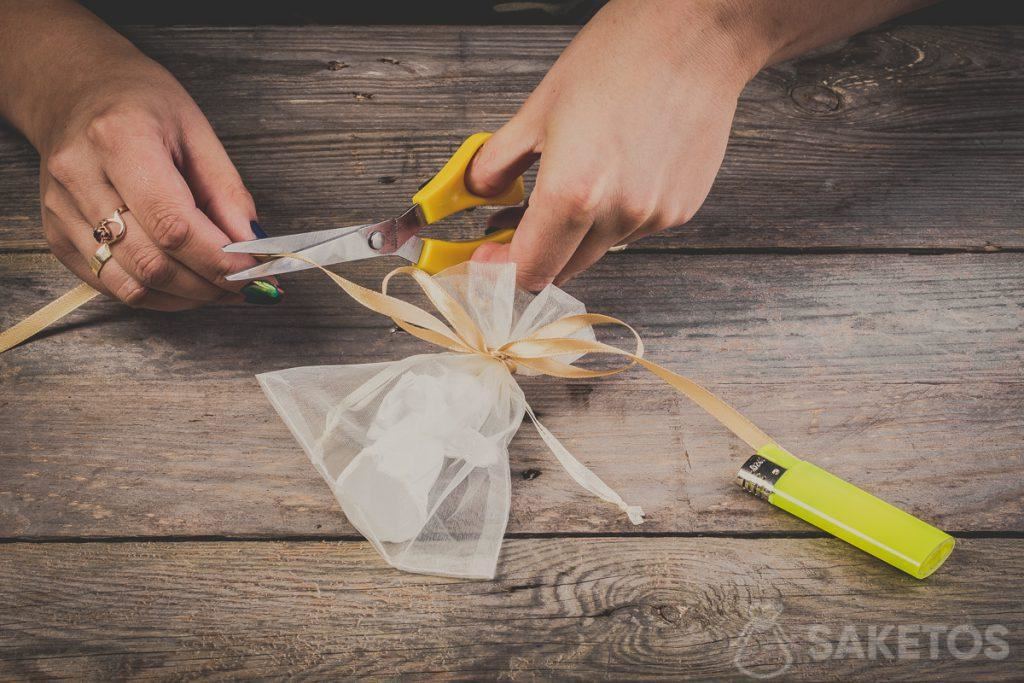
Cutting bow ends when using a ribbon – step 11
How to prevent the ends of the ribbon bow from fraying
Cut ribbon has a tendancy to fray which can end up looking tatty. To prevent this from happening simply singe the cut edges of the ribbon (careful not to burn the rest of the ribbon) using matches or a lighter. Gently melting the edges will stop the ribbon from fraying.
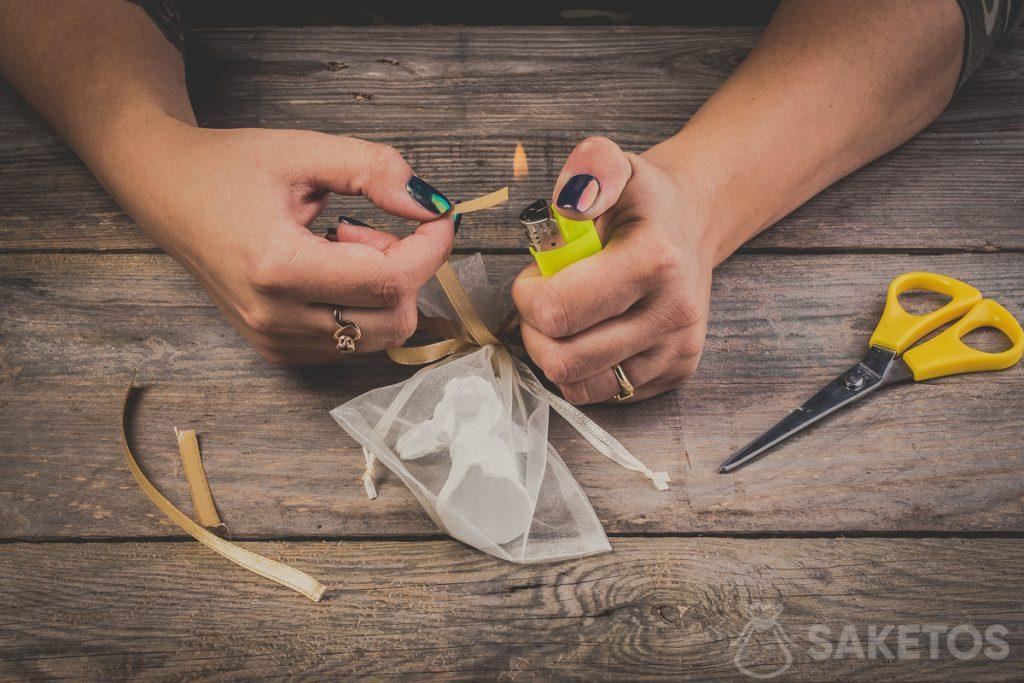
Also remember to burn the ends of the ribbon bow. This will prevent the ribbon from fraying – step 12
How to nicely decorate a gift with an elegant ribbon
Wrapping a gift can be both easy and fun once you know how. By learning our fool-proof technique you can create beautifully wrapped gifts every time. Take a look at our inspirational ideas on how to nail stunning gift wrap!
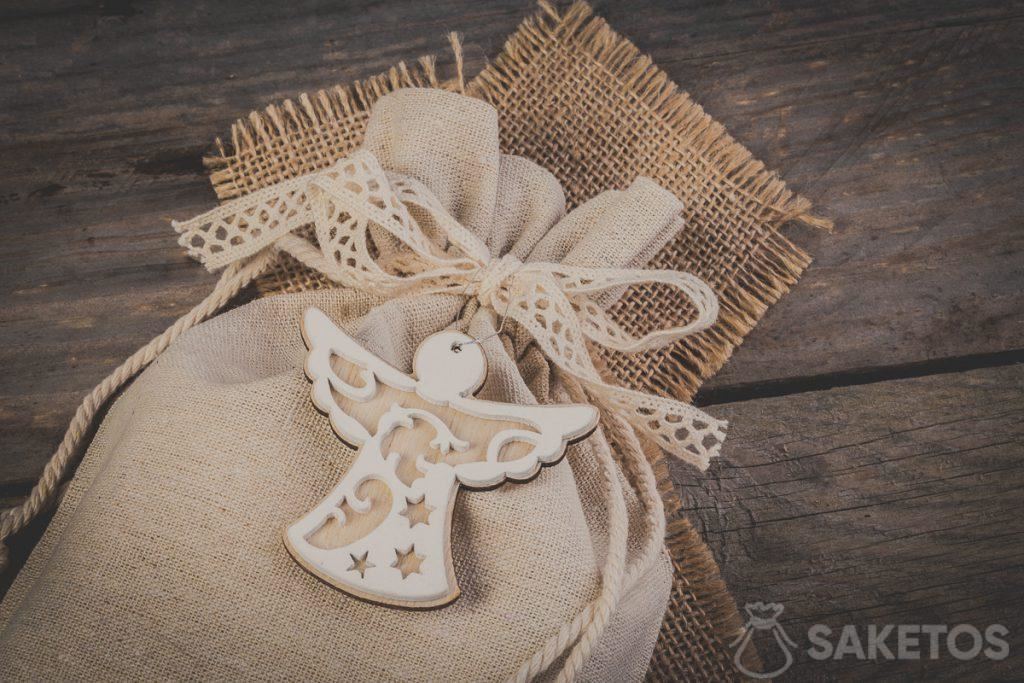
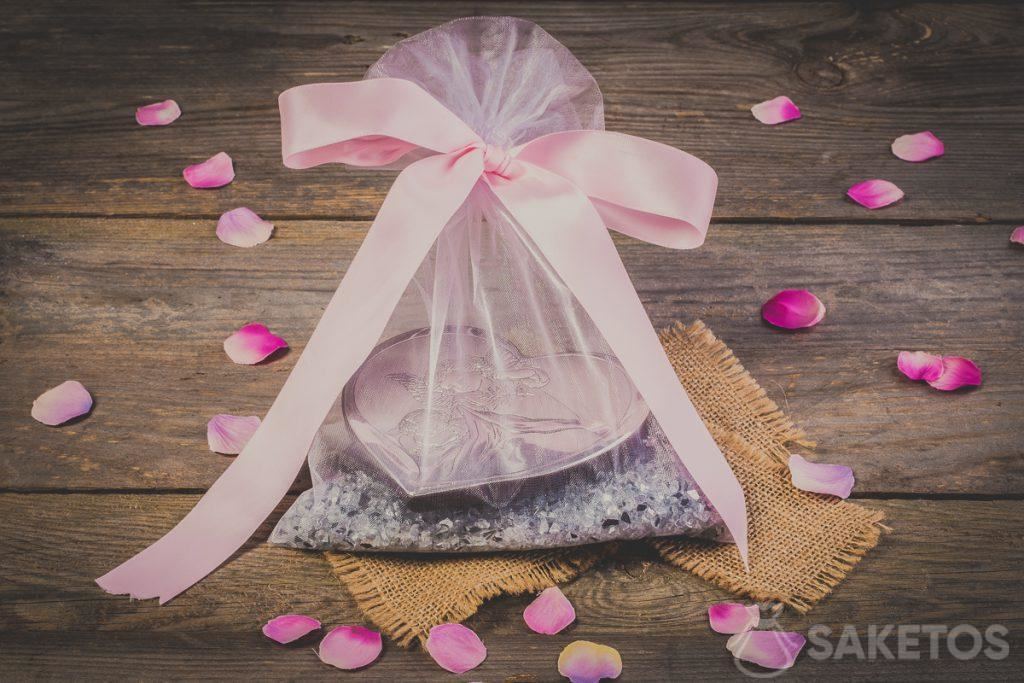
Linen bag tied with a decorative ribbon bow featuring a decorative pendant
If you want your gift to really stand out and be memorable then careful consideration should be given to its packaging. We stock decorative fabric bags in a variety of materials, sizes and colours to suit almost any gift. To elevate your gift simply place it inside one of our stunning bags and draw the strings or ribbon (depending on the design) It really is that easy! In order to add to the visual appeal of your gift you can also decorate with a stylish bow or a decorative pendant.
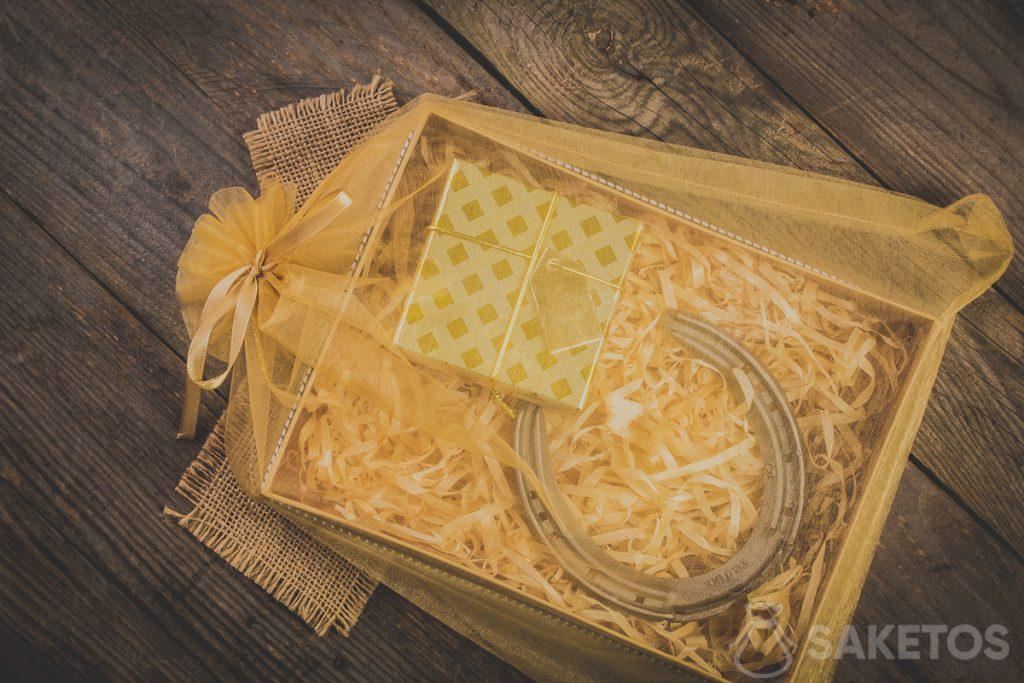
Gifts in an organza bag finished with a decorative ribbon
How to make an organza bow?
If you already know how to make a ribbon bow, you will certainly manage to make an organza bow as well. Organza is a lightweight and transparent material, which is widely used by professionals in the decorative industry due to its appearance. Organza bows are used not only for decorating flower bouquets but also as decorations for chairs (e.g., in wedding venues or churches) or as elements of stage costumes. This material is characterized by a weave that gives it a bit of stiffness – thanks to it, organza is a quite elastic and malleable material, and the decorations made from it retain their original shape for a long time.
How to make an organza bow? The whole procedure resembles tying a regular ribbon (see above). However, before tightening the final knot of the bow, it’s worth arranging its individual parts nicely – organza is usually sold in relatively wide pieces, and during the tying process, one of them may wrap up unattractively. If the bow meets our expectations, its loose ends can be trimmed to further emphasize its decorative qualities.
How to make a tulle bow?
Tulle is a delicate and translucent material that resembles a mesh structure. Similar to organza, it is often used for creating elegant decorations, but unlike organza, it is much less stiff – which can be a challenge for inexperienced individuals when tying a regular bow. So, how to make this decoration from it? It’s worth using a needle and thread! Simply arrange the tulle gradually into the shape of a bow and instead of securing it with knots, sew the individual parts together at its center. Experts often create, for example, two or three such bows, then stitch them together to achieve an even more spectacular effect.
If you’re wondering how to make a bow from satin ribbon or another slippery, hard-to-control material, use the same method as with tulle – a needle and thread. By doing so, you’ll achieve not only a beautiful and symmetrical bow shape but also increase its durability.
Now you know how to tie a simple and eye-catching bow using ribbon!
Once you have mastered how to tie a simple, classic ribbon bow learn more about our unique ideas for stunning gift wrap ideas using versatile, decorative bags! Visit our website to view our extensive range of decorative bags… the possibilities are endless!